 Image 1 of 8

 Image 2 of 8

 Image 3 of 8

 Image 4 of 8

 Image 5 of 8

 Image 6 of 8

 Image 7 of 8

 Image 8 of 8


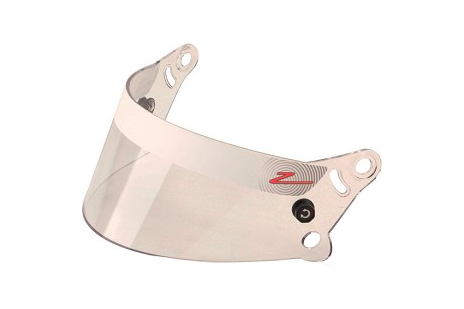
Z20 - Zamp Visor
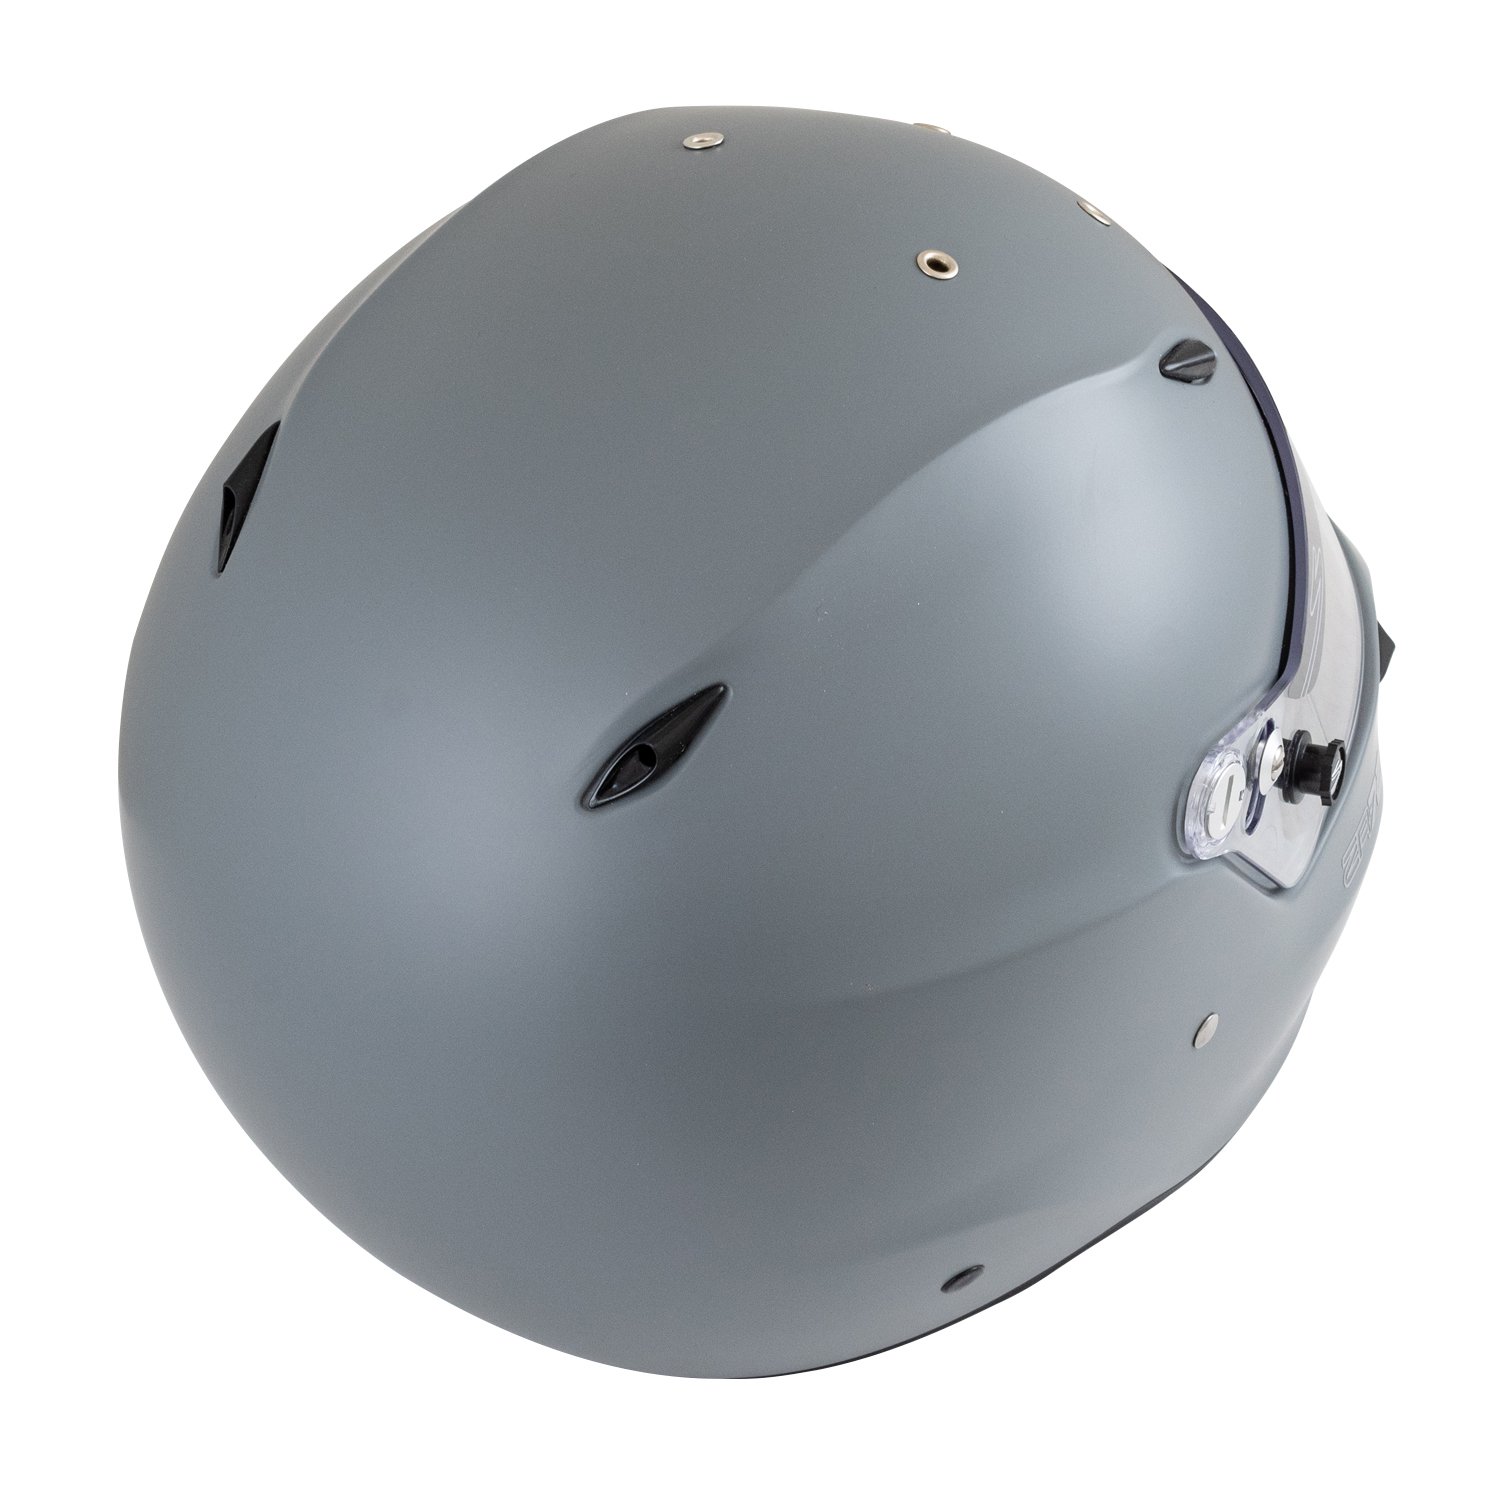
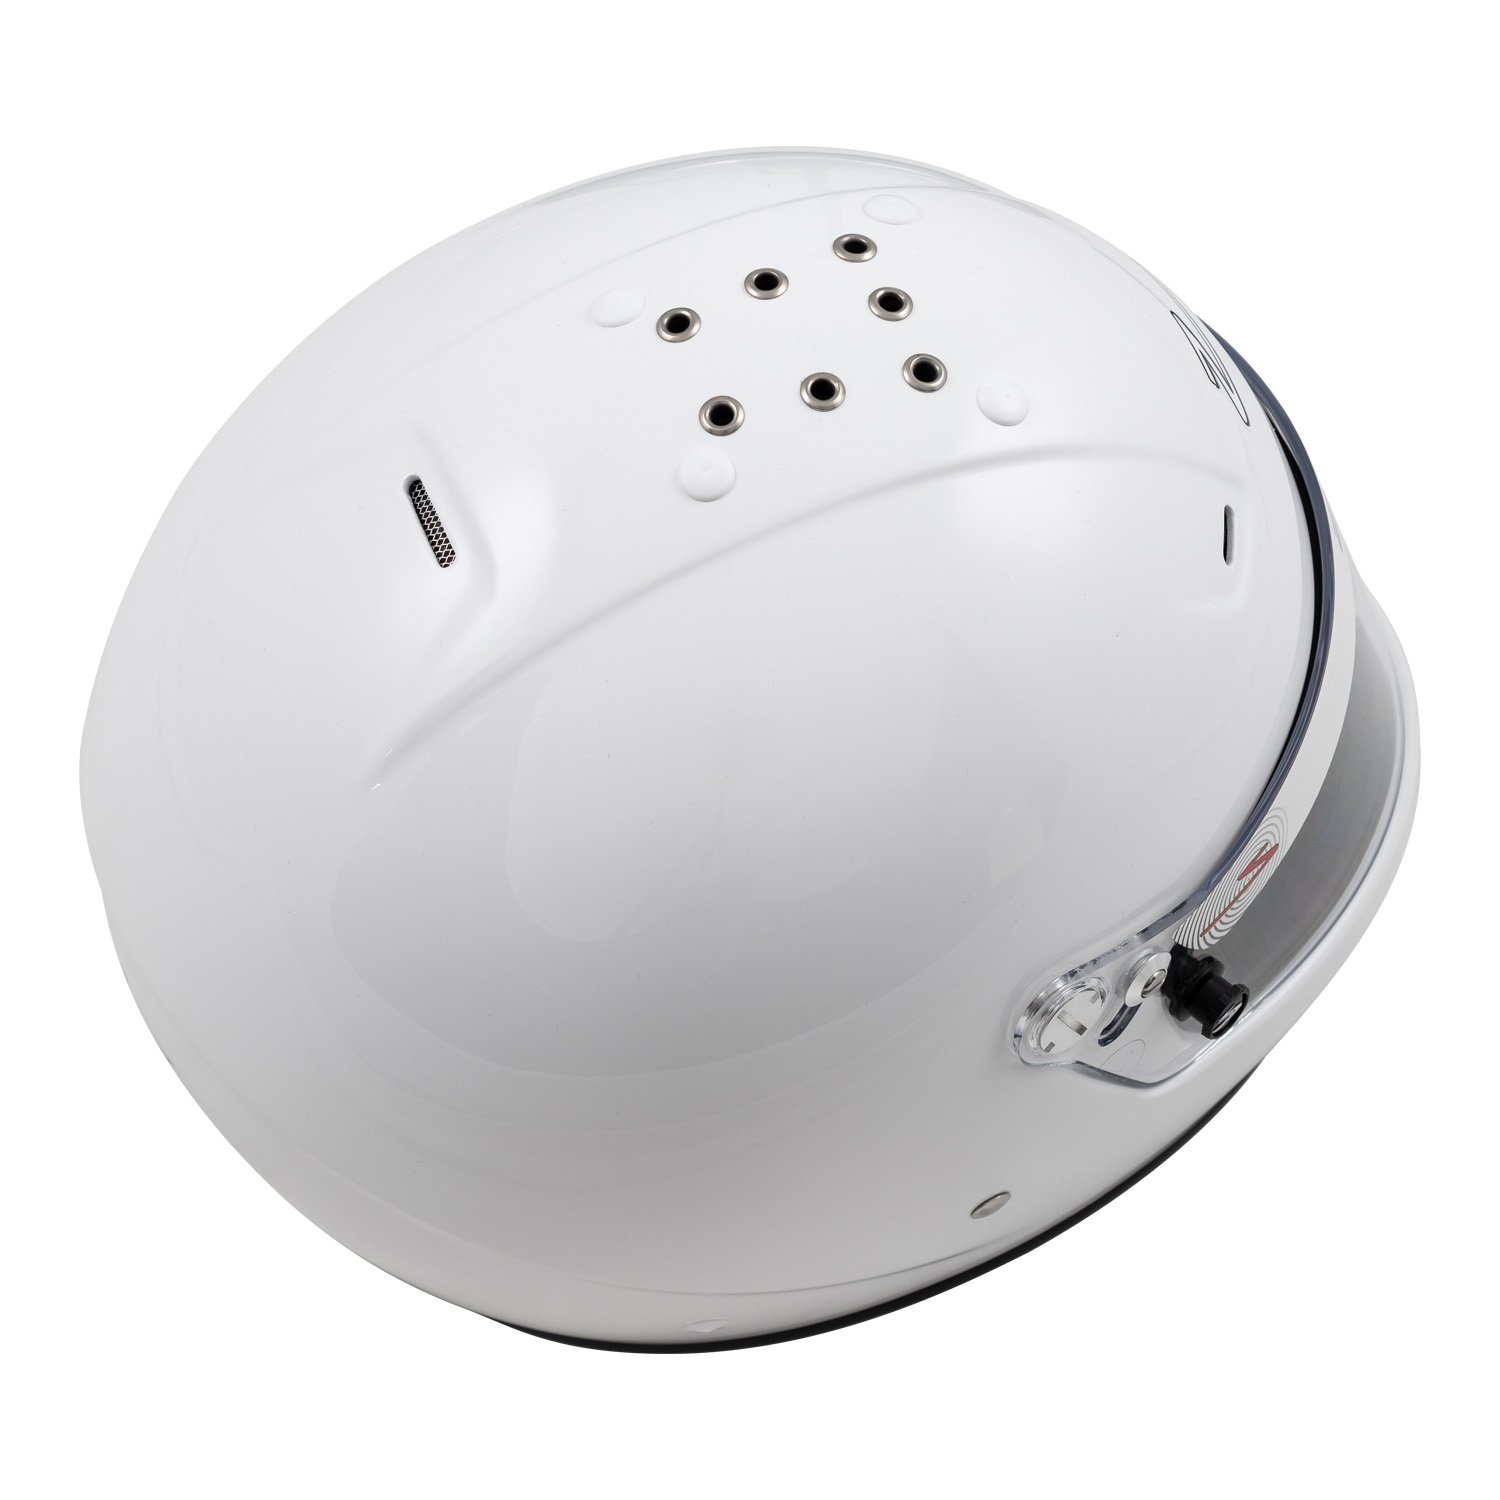
The Zamp Z-20 series shields are designed to fit all Zamp RZ Series helmets. The Zamp Z-20 shields are 3mm thick with tear-off posts. All Z-20 Visors also come with an anti-fog coating.
Please be aware that customers should not place the transparent film (that comes on all standard visors) on top of the Prism Visors. This will not protect the visor and may cause damage to the coating of the visor.
Zamp Z-20 Shield Replacement:
NOTE: It is important to NOT USE power tools or over tighten screws when changing shields.
Step 1 Lay a towel on a flat surface and set the helmet on it.
Step 2 Remove the shield pivot tensioners on each side. This is the smaller screw on the sides of the shield.
Step 3 Remove shield pivot screws on each side. This is the larger screw on the side of the shield. For best results, we suggest using a quarter to loosen/tighten this.
Step 4 Remove shield. We suggest using a cloth towel to wipe down the rubber seal as well as where the shield mounts to the helmet for best results.
Step 5 Place shield on helmet. There are two white washers that go between shield and helmet, make sure they are in place before re-installing shield.
Step 6 Hand thread in the shield pivots (larger screw) to hold the shield in place. Once hand threaded, use a coin and tighten until they are snug with helmet shell. Do not over tighten.
Step 7 Hand thread in the shield pivot tensioners, then tighten to desired tension for shield movement.
Visor sticker may vary.


